After writing in a previous post about my Viking age coat/kaftan, I was asked which pattern I used. Well, I used a very basic Viking age dress pattern and simply cut open the front panel to create a coat. I made a graph and some instructions for those who are interested. Although I did my best, I can’t guarantee that all is correct as I’m not an experienced pattern maker, so please use your common sense while using this pattern.

ab = your length from shoulder to ankle (or whatever length you like the coat to have)
cd = circumference at breast height devided by 2, plus a little extra to avoid tightness
ef = distance from ankle to waist
gh = 30 to 40 cm
ij = length of your stretched arm from shoulder joint to wrist
kl = 10 to 12 cm
mn = ± 40 cm
Always add seam allowances to the measurements above! Also when cutting out for example the neck-hole, remember that it will become larger when you sew the hem.
Textile finds from Birka show that the tunic-type garments from 9th and 10th century Sweden did not have separate front and back panels with shoulder seams, but were cut as one large piece with a hole for the head opening. For the wider fabrics that we have today this is likely an inefficient use of fabric, therefore I assume here that you have separate front and back panels.
Cut front and back panels as rectangles of size ab x cd; you will make the front opening and the split for the back gore later. Similarly, cut the sleeves as rectangles of ij x mn, you will shape them later. Cut the neck-hole out of the front and back panels. At the back it should be 3 to 4 cm deep (after sewing the brim), at the front it doesn’t matter because you will enlarge it later on.
Start the assembly by sewing the body halves together at the shoulders. Sew the four side-gores to either side of the front and back panels. Sew the two gore halves of the back gore together. Cut the opening along the back to insert the gore, but be careful not to make the slit too large, it should be a little shorter than the distance e-f because of the seam allowances. Sew the sleeves to the body, centered on the shoulder seam. The square gussets, that serve to relieve tightness in the armhole, are sewn into the corner of the sleeves and the front panel, as shown in the graph.
Finally, fold the whole thing in half and sew each side from wrist to armpit to hem. Shape the sleeves while doing this, but do not make them too tight, your balled fist should still be able to fit through. While sewing the armpit area, the square gusset is folded into a triangle, attaching the point indicated by a * in the graph to the other armpit, also indicated by a *. When you are finished, you have a dress. Now, make a coat out of it by cutting open the front panel along the centre, making the upper part into a V-shape so that the front opening lines up with the sides of the neck-hole. Fold over the fabric to the inside and secure with small stitches that are not visible on the outside. Do the same with the sleeve ends and underside of the garment.
 Shaping the sleeve
To finish, press all seams open with your fingers and sew the seam allowances flat with a stitch that is invisible on the outside. Finishing the seams like this is especially important in places where multiple seams come together, such as at the top of the gores, and it will improve the drape of the final coat. For thinner fabrics such as linnen I prefer not to press the seams open, but to fold both seam allowances to one side for more strength. Mostly I trim one of the allowances to 1/4 inch or 1 cm and the other allowance to 1/2 inch or 2 cm, then press them to the side of the shorter one and fold the longer allowance around the shorter one.
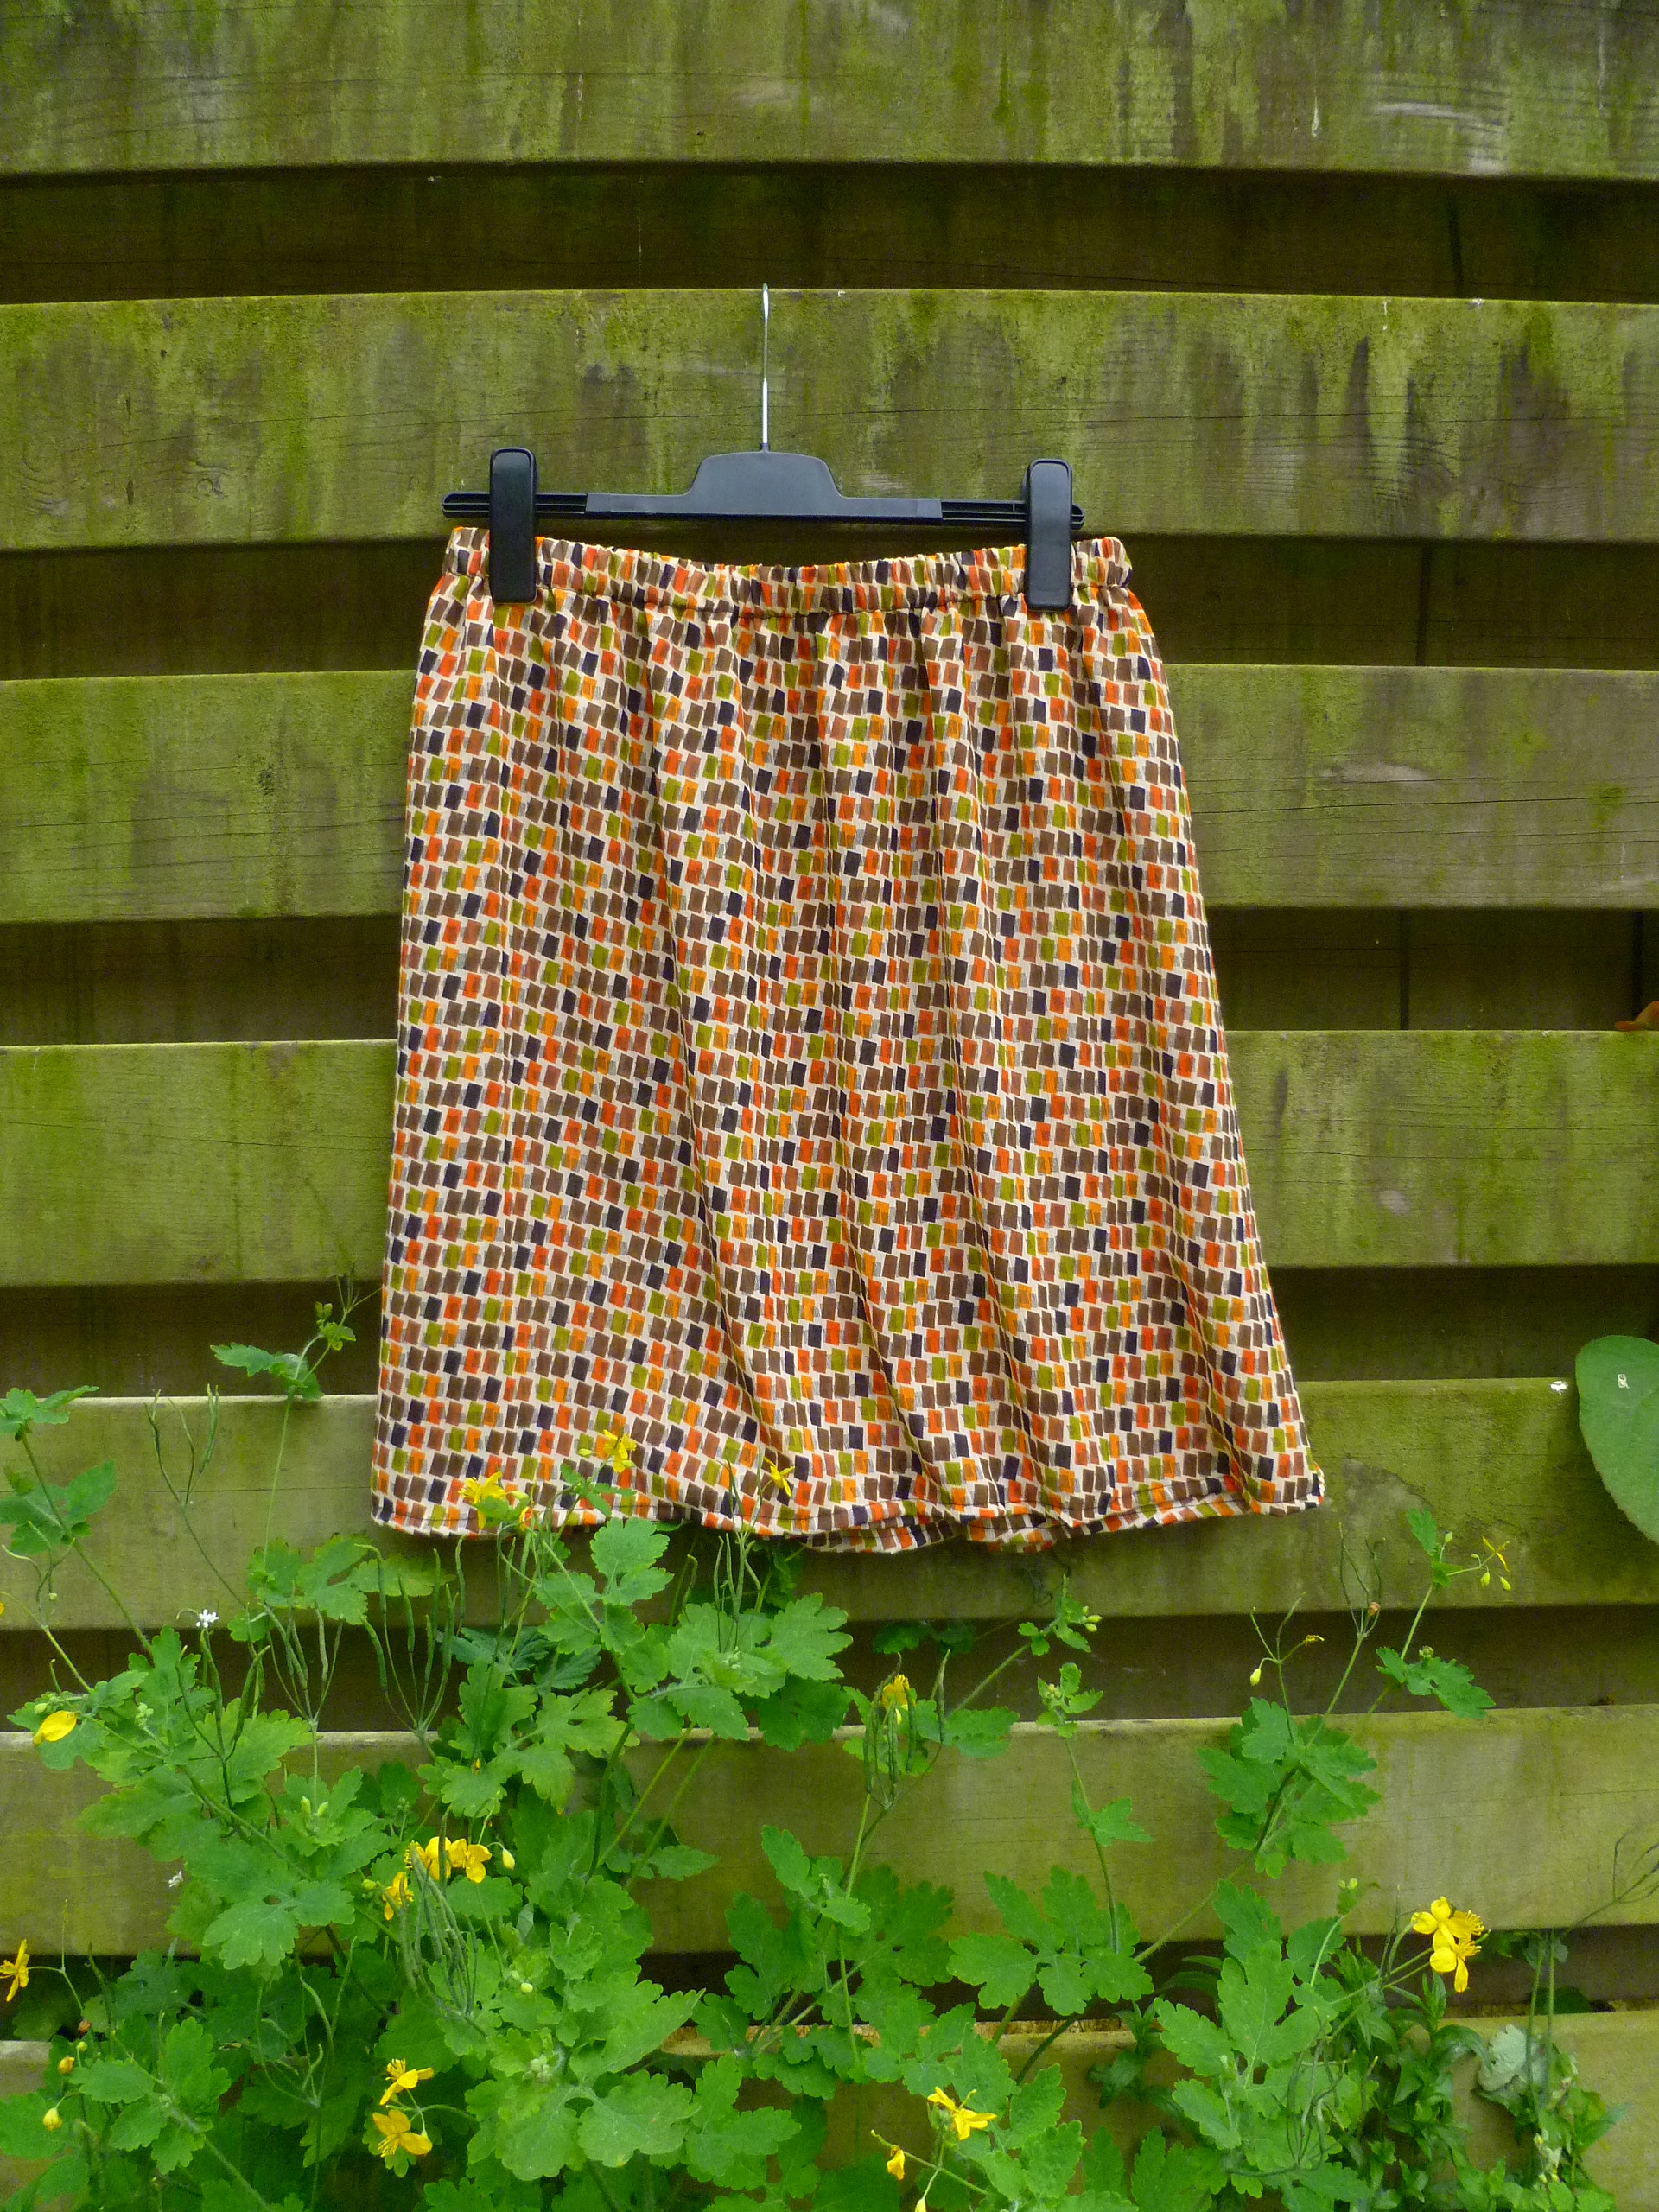
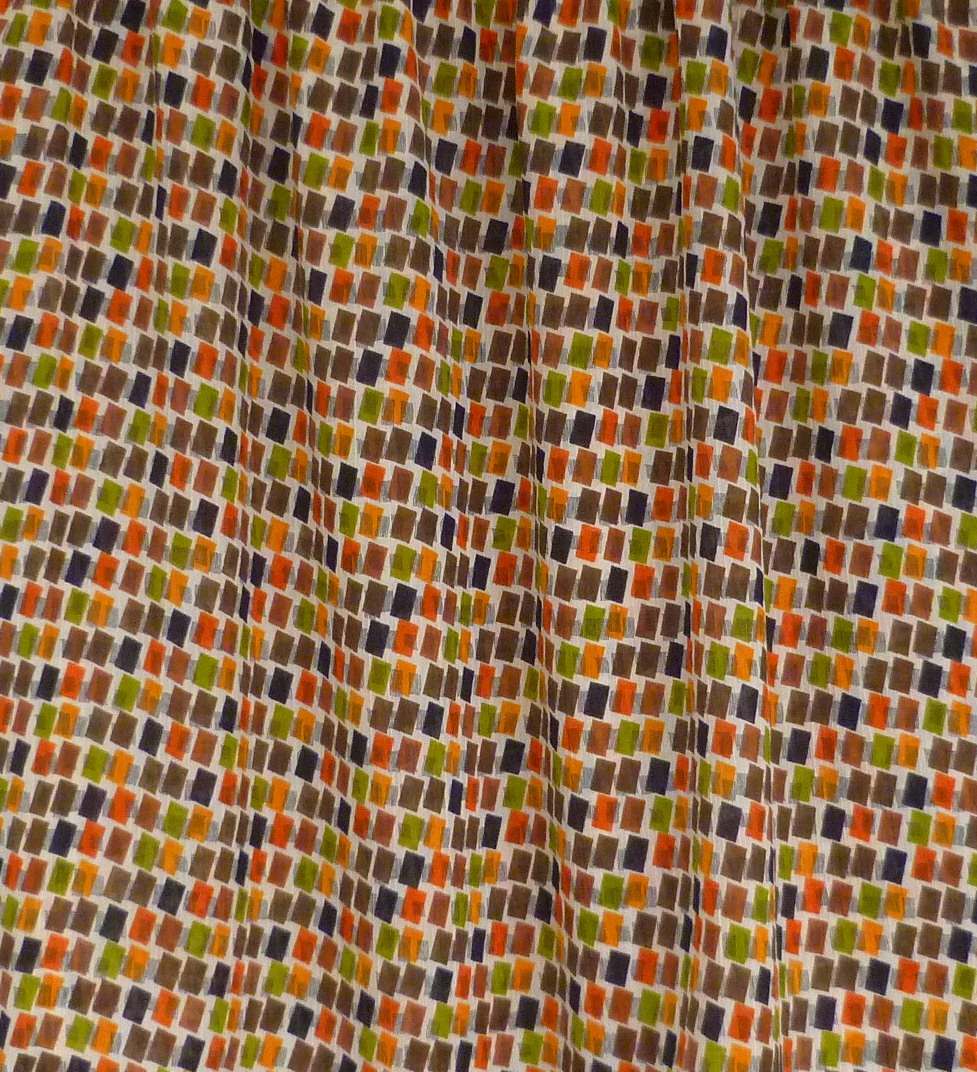
You can decorate your coat by adding some nice embroidery or -which was probably more common- by attaching woven band or metal-brocaded braids. In Viking times it was also very common to accentuate the seams with decorative stitches. For more information on decorations as well as general information on Viking clothing and coats, visit this nice website.
Read Full Post »